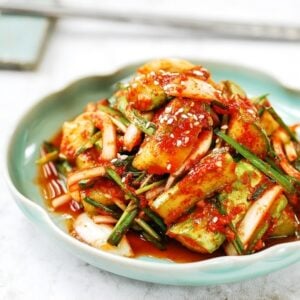
Make kimchi with summer cucumbers. It’s easy, crisp, crunchy and deliciously refreshing!
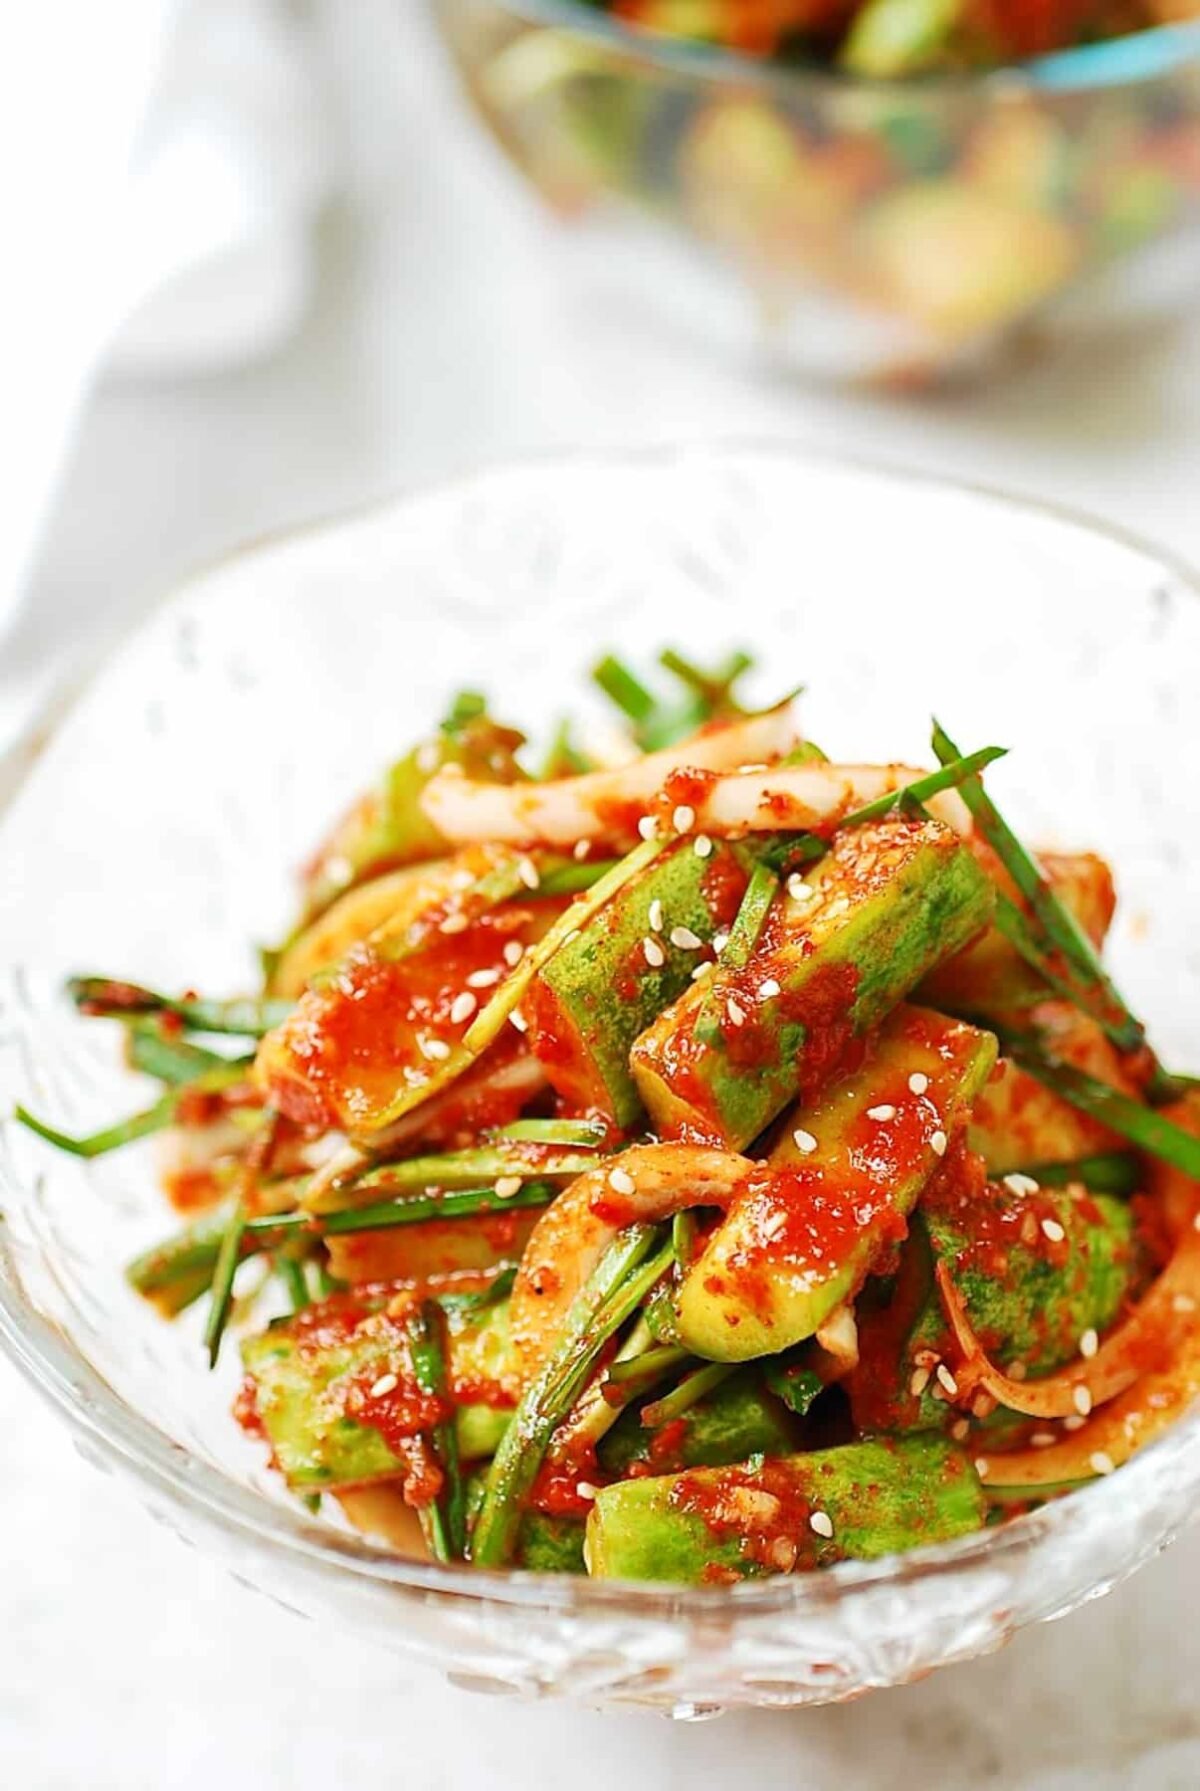
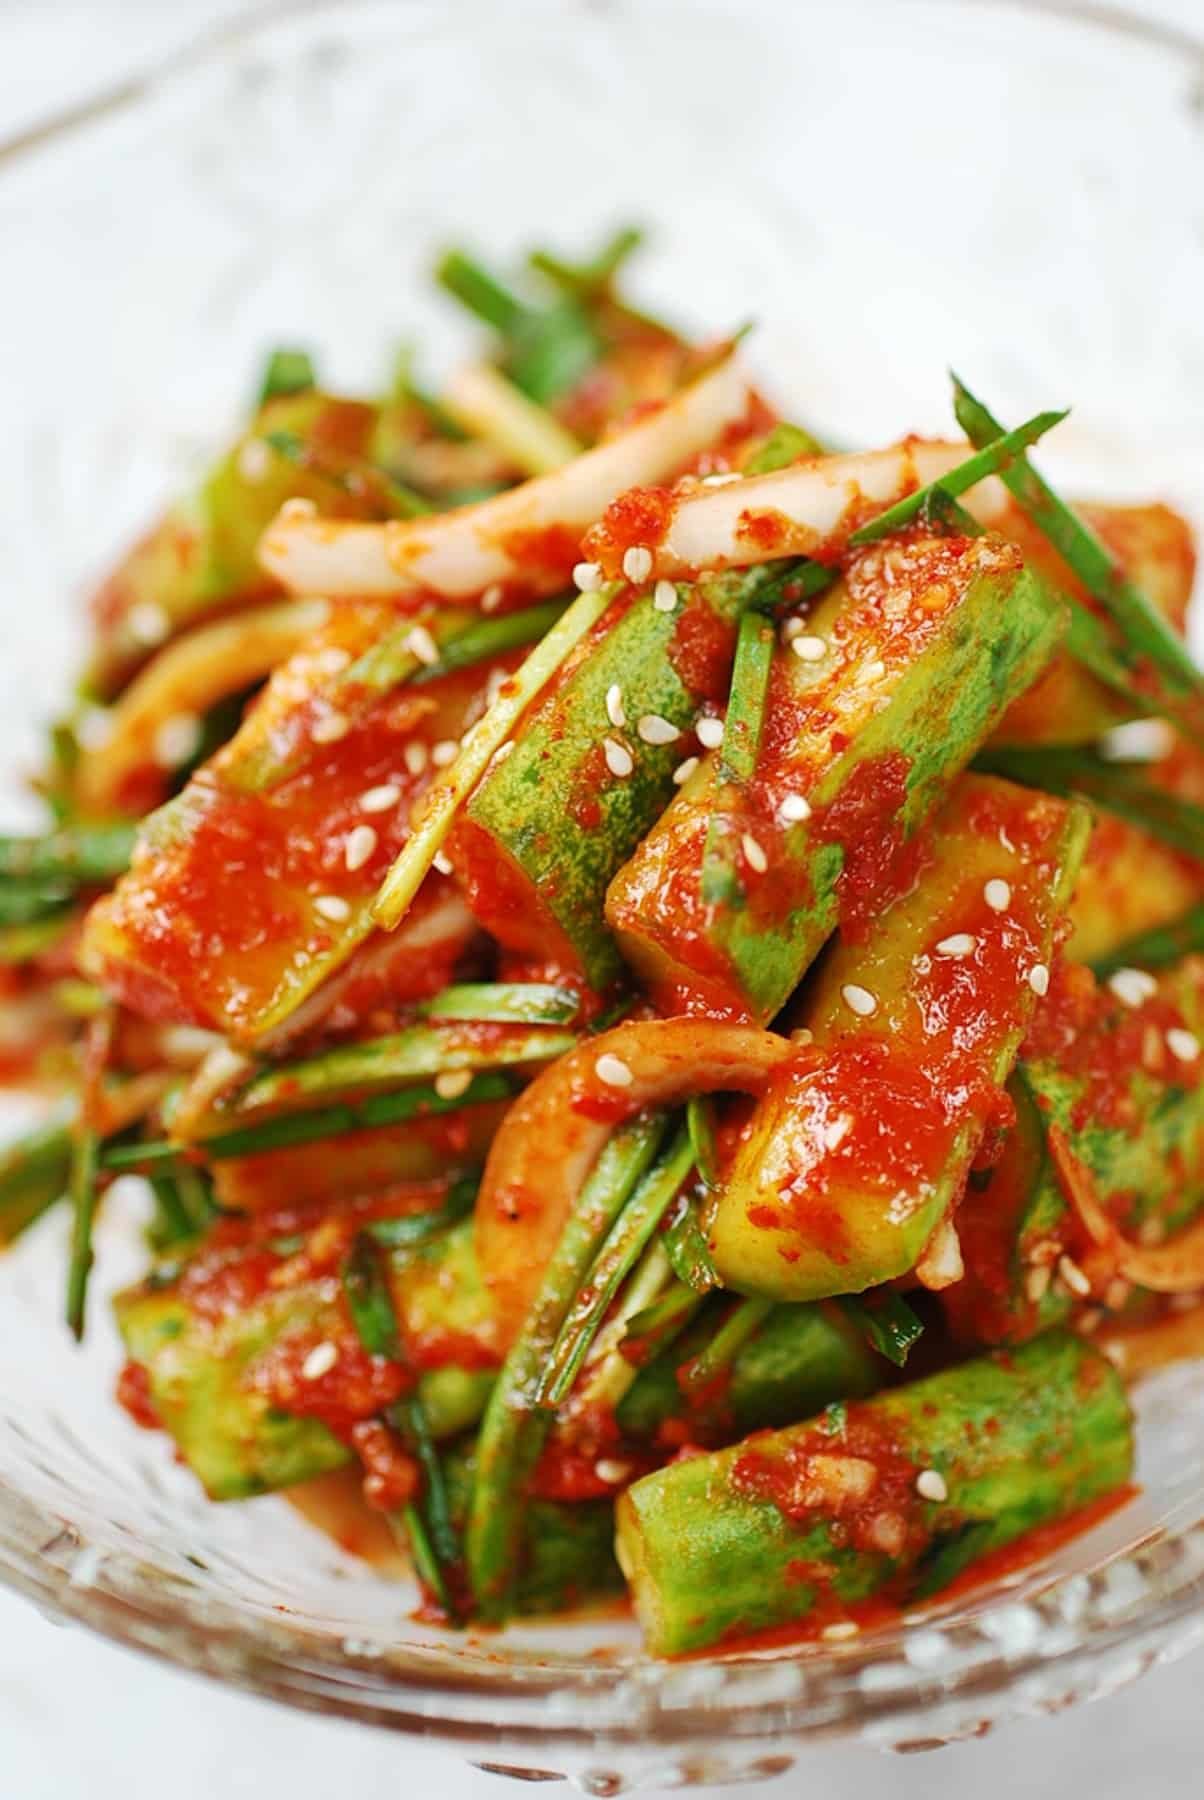
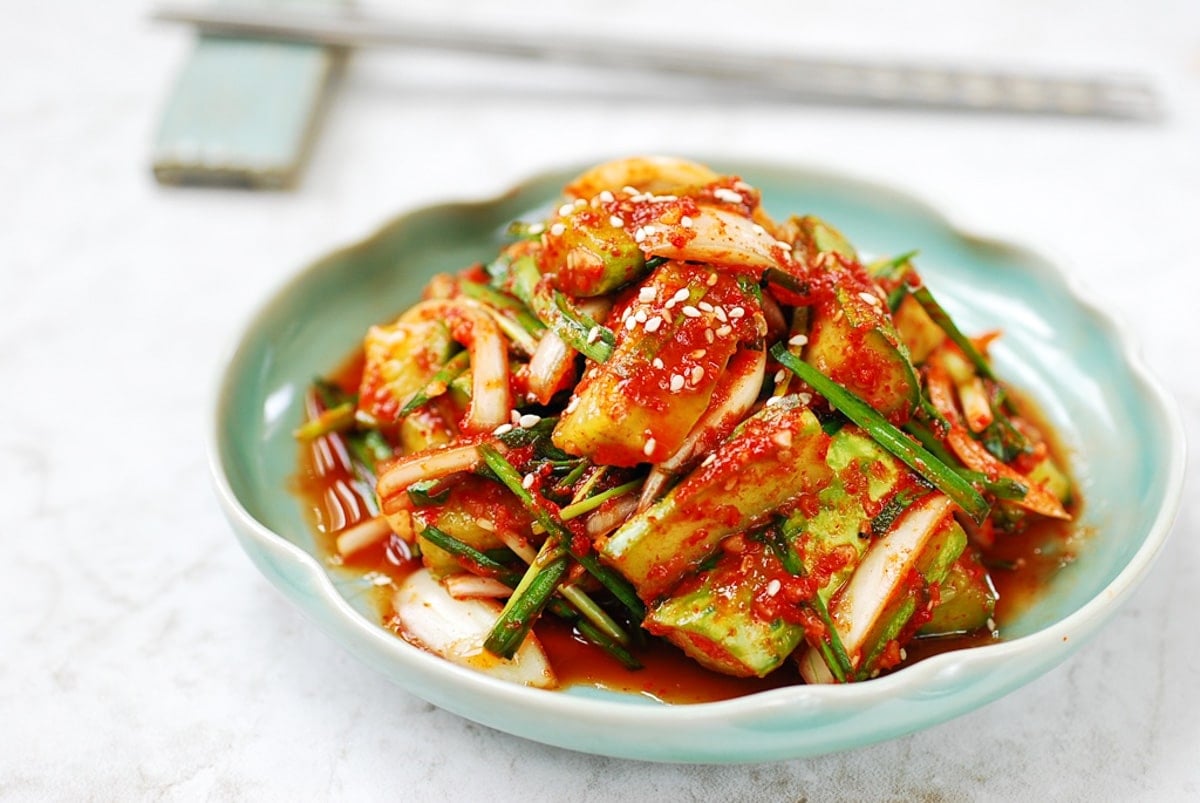
If you ask me which is the easiest kimchi you can try to make this summer, I’d say this cucumber kimchi (oi kimchi, 오이김치)! It’s summer, which means we should all be eating more cucumbers. Simply cut up the cucumbers, salt briefly, and then mix with the seasoning!
It’s an excellent alternative to the stuffed cucumber kimchi, oi sobagi (오이 소박이), if you don’t want to bother stuffing the cucumbers.
Because the cucumbers are cut similar to cubes, this cucumber kimchi is also called oi kkakdugi (오이깍두기), named after cubed radish kimchi — kkakdugi.
Cucumbers and other vegetables
As mentioned in the stuffed cucumber kimchi recipe, use Korean cucumbers if available. Otherwise, Kirby pickling cucumbers are the next best thing for making kimchi. You can also try it with other thin-skinned varieties with crisp flesh and small seeds. The resulting texture may not be as crunchy, depending on the variety. If you have a choice, select cucumbers that are firm and slender. Thicker cucumbers tend to have more seeds and softer flesh.
I like to add Korean garlic chives (buchu, 부추). It’s easier now to find garlic chives around here, and summer garlic chives are tender and delicious. You can leave them out if you can’t find them. Use some scallions instead.
Oi kimchi seasoning
Because this is kimchi, unlike oi muchim, I use salted shrimp (saeujeot/saewujeot, 새우젓) and fish sauce (myeolchiaekjeot, 멸치액젓). The ratio of these two ingredients is always a matter of preference among Korean cooks. You can also just use one of the two, not both. It’s really up to you!
How to make cucumber kimchi vegan
This is actually a question for all kimchi types. There are various ways to make vegan kimchi depending on kimchi types and preference. For this cucumber kimchi, use Korean soup soy sauce (gukganjang, 국간장) as a substitute for salted shrimp and/or fish sauce. Use an equal amount and complete the dish with salt as necessary. Or you can simply use salt to season the cucumbers.
How long will this kimchi stay good?
You can eat this kimchi on the same day you make it. It will be best over the next few days, but still good for up to 2 weeks, if it lasts that long. If you like it ripe, leave it out at room temperature overnight to expedite the fermentation process and then refrigerate. Oi kimchi is not for long-term storage.
More cucumber recipes
Oi muchim (spicy cucumber salad)
Oi sobagi (stuffed cucumber kimchi)
Oiji (Korean pickled cucumbers)
Oiji muchim (spicy seasoned cucumber pickles)
Oi naengguk (chilled cucumber soup)
Oi Bokkeum (stir-fried cucumbers)
Watch how to make it
For more Korean cooking inspirations, follow along on YouTube, Pinterest, Twitter, Facebook, and Instagram.
Ingredients
- 1.5 pounds cucumbers (Korean cucumbers or other type such as Kirby pickling cucumbers)
- 1 tablespoon coarse sea salt less if using fine salt
- 2 to 3 ounces garlic chives (buchu, 부추) Or scallions
- 1/4 medium onion
Seasonings:
- 2 to 3 tablespoons gochugaru 고추가루 (Korean red chili pepper flakes)
- 1 tablespoon myulchi aekjeot 멸치액젓 (fish sauce)
- 1 tablespoon saeujeot 새우젓 (salted and fermented shrimp) or use more fish sauce
- 1 tablespoon minced garlic
- 1/2 teaspoon grated ginger
- 2 to 3 teaspoon sugar or 2 tablespoons maesilcheong (Korean plum syrup) Or your favorite sugar substitute
- 1 teaspoon roasted sesame seeds - optional
Instructions
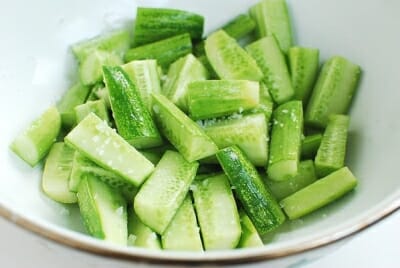
- Cut the cucumbers in half lengthwise. Cut each one in half again lengthwise. Dice the cucumbern quarters into about 1 to 1.5 inch-long pieces. Sprinkle the salt evenly all over the cucumber pieces. Let them sit for about 30 minutes.
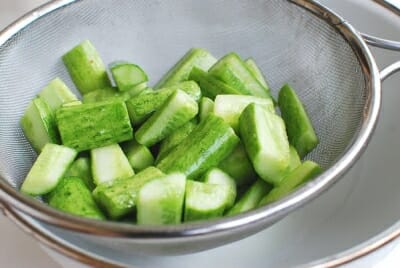
- Drain the cucumbers well in a strainer to remove any water released. Do not rinse the cucumbers.
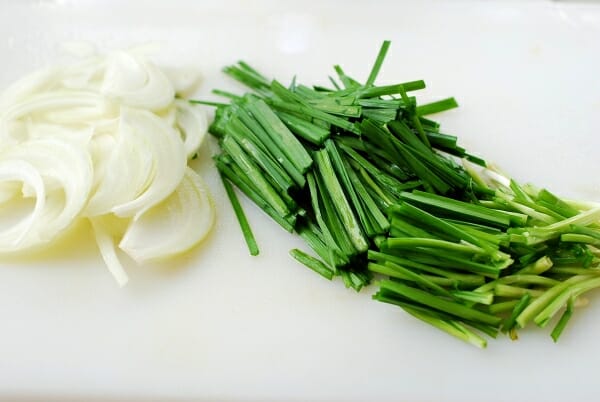
- Cut the garlic chives into 1.5 inch long pieces. Thinly slice the onions.
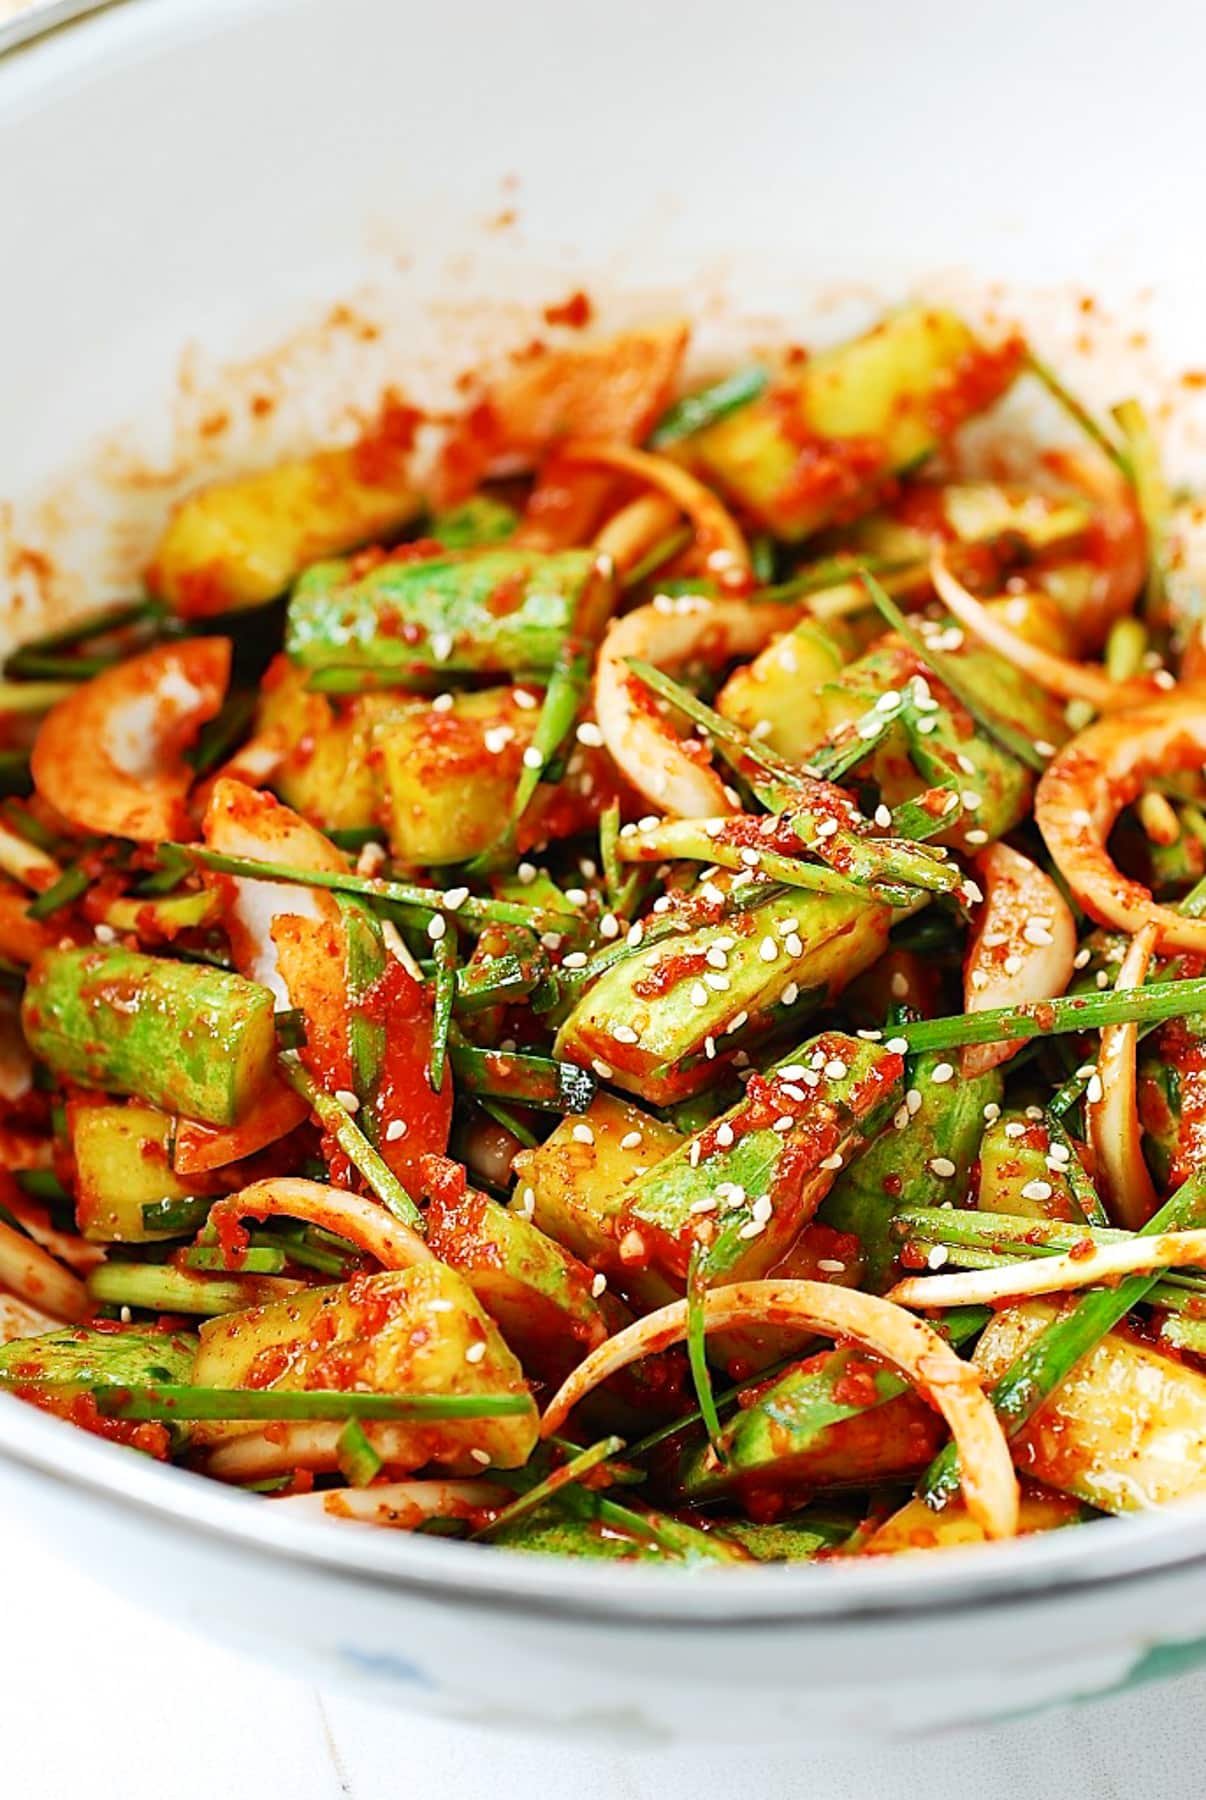
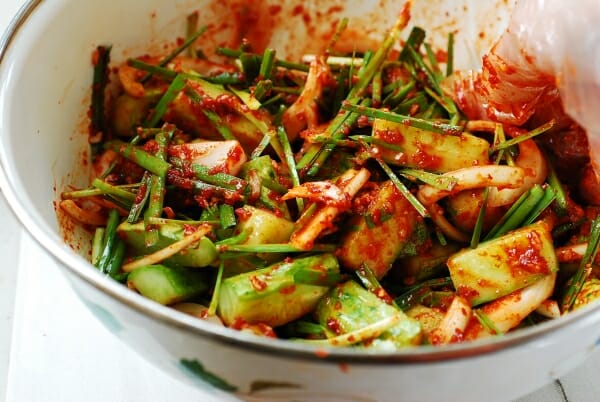
- Add the onions and garlic chives along with all the remaining ingredients to the salted cucumbers. Toss everything until the cucumbers are well coated with the seasoning. The cucumbers will look dry at this point, but will release moisture as they absorb the seasonings.
Notes
This recipe was originally posted in August 2011. It’s updated here with new photos, more information, and an improved recipe.










Linda says
Made a batch today as we were drowning in fresh garden cucumbers. This is our new family favorite. Everyone loved them. So quick and easy to make and it sure is a nice snack or addition to a meal.
Thank you
Hyosun says
Oh I’m glad to hear that! Summer cucumbers are the best, especially from your own garden.
Len says
I love your blog. I used to go to a great Korean food store and the owner made cucumber kimchi. I moved and there is nothing like that here. 😢
I have all of my ingredients to make cucumber kimchi! Today will be 91 degrees and it’s so refreshing to eat on a hot day! Thanks again!
Hyosun says
Great! Glad you’re making it on your own! Enjoy it many more times.
Gwen says
Hi! May I know roughly how long can I keep this in the fridge / still best for consumption? Thank you!!!
Merissa says
I have kept mine for a month if being used, but if in the fridge not used like you made a whole bunch, about 6 month is you use 1/2 inch head space, mind you these are not sealed through canning. They are like pickles, as long as it looks and smells normal you are good. If you see any mold or discoloration chuck it.
LINDA Cochran says
I am so glad to have found your blog. It makes me so appreciative of all the wonderful meals my mom cooked for growing up. She is now in assisted living and unable to cook but I cherish all the wonderful memories watching her make amazing Korean food. Thank you for sharing your wonderful talent!!
Hyosun says
I am glad you found my blog too and it helps you cherish the wonderful memories of your mom’s cooking. You’re welcome, and best wishes for you and your mom!
Rick S says
I dont have salted shrimp. I do have salted shrimp sauce may that be used and if so, how much in this recipe?
Hyosun says
I don’t know what that is, but try it. I’m sure it will add savory flavors.
Chris says
I’m thinking no as that requires cooking the sauce.
Chimmy says
My brothers and I made Cucumber Kimchi
last night, shared it with my parents and our children, and we agreed that it was definitely & simply amazing, loved every bite!! Left overs today for lunch, no less enjoyable and delish ❤️. A 10 for us, thank you for sharing!
EAT CHIMAC says
Love Korean food, happy to find your recipes and information!
I made this last night and it was amazing! I grilled some green beans at the same time and tossed them with some reserved marinade. So easy for a weeknight dinner! We’ll be making this again and again. Thanks!
Odessa says
i love your blogs.. it helps me with my small korean food business.. a filipino here😁… is it ok if i don’t have garlic chives? coz it’s a bit hard to find chives here..
Robert W Honea says
Great and Easy way to make Cumber Kimchi.
Thanks,
Bob
Chan Ramkalawan says
Hi I would love to cook Korean way is there a recipe book that I can by, also I would like to learn to speak the language ,are there books out there to help me.
Cynthia King says
is the salted shrimp saeujeot a paste? Can I use minced salted shrimp? Thanks!
Hyosun says
Salted shrimp actually is fermented whole tiny shrimp. Not sure what minced salted shrimp is but I’m sure it will add some flavor to the dish.
Avril says
Hi,
May I know which type of chilli peper flakes to be used? Coarse or fine?
Thanks
Hyosun says
Either one is fine. Hope you try it.
Elizabeth Kim says
So yummy! Thank you for sharing! I used Stevia and amino acids and the end result was delicious! Thank you!
Hyun Nad says
I will definitely try this! By the way i have a question, will the fermentation length change if i thinly sliced it instead of cutting it cross-wise?
Hyosun says
No big difference. If you want to thinly slice and eat right away, I have another cucumber recipe called oi muchim on the blog.
Jillian Kim says
This oi kimchi is amazing. I love your site. As a white girl cooking for a Korean husband, it is very helpful! We both love Korean food, but his mom doesn’t use measurements making it hard to learn. Thank you!!!
Hyosun says
Great to hear! I’m glad to hear my recipes are helpful.
Kim says
Hi, thank your for your recipes.
I don’t have the salted shrimps. Would it make a lot difference if I don’t put that ingredients? Should I put more fish sauce to replace the missing ingredients?
Hyosun says
Yes you can use more fish sauce.
Angela says
I have also used about a tbs of oyster sauce in place of the salted shrimp in this and the kimchi recipe. it seems to work great and i’ve had Korean friends tell me my kimchi is as good as they’ve had from home…i dont know if they’re just being nice, but it feels good to hear the compliment!
Hyosun says
I’m sure it was good! Thank you for letting me know.
Nyoka says
Awesome recipes will try all of them kimchi lover💕
juliana francis says
just made your cucumber kimchi?
it turns out pretty good.
thank you?
Hyosun says
Great! Thanks for letting me know!
Sharen kiu says
Thank you for sharing your recipes.
I love Korean food but usually ate them at a Korean restaurant.
Your blog definitely encourage me to try to cook at home.
Thank you again.
Regards
Sharen. Malaysia
Patty says
This turned out really well. I used two tsps soy sauce and 1 tsp vegan broth for the fish sauce to make it free of animal products. I let it ferment about 4 hours at room temperature to get some good bacteria going.
Ryan says
I just wanted to say thank you for your efforts in creating this site. I have been cooking Korean food for over 10 years now and look at your recipes for new fresh inspiration and tips to constantly improve my cooking. Thank you again!
Hyosun says
That’s great to hear, Ryan! Thanks for leaving me a note. It really means a lot to me. Cheers!
Jay C. says
Congratulation for your second anniversary!!! Thank you for posting all the recipes. You are my life saver. Yours is very easy understand and follow. Thanks again!!!
Hyosun says
Oh this was a old post, but thank you anyway! Actually the 7th anniversary is coming up in August.
Jennifer says
Hey!
I just wanted to let you know that I made this oi kimchi today (my very first kimchi-making attempt) and it turned out excellently! (I omitted the onion, though.) My mother loved it so much, she had a second helping of it. Apparently, I’ll make this kimchi quite often in the future. So, thank you very much for this amazing and simple recipe!
Have a nice day!
Hyosun says
My great pleasure! So happy to hear about another happy mom!
Aisha says
Congratulations on your blog’s anniversary.
I will try to make you oi kimchi, not sure if I will find the korean spices in Holland, but I will do my best to prepare it 🙂
Hyosun says
Oh this is an old post, but thanks anyway! Hope you can find the ingredients!
Shilpee says
Just made some cucumber kimchi with your recipe. Can’t wait to try! Thank you so much.
Hyosun says
Hope it turned out well. Enjoy!
MILTON PIERCE says
Am so delighted to find you … saw an article in the Wash. Post magazine .. Korean is our favorite food… very few good cookbooks out there… and your blog is AMAZING
thanks
Hyosun says
Aww thank you, Milton! I’m glad you’ve found me as well. I look forward to hearing about your Korean cooking. Cheers!
michael north says
you put up yummy recipes cant wait to make this keep up the good work always moving forward congrats
Hyosun says
Thank you, Michael! It’s the support from the readers like you that keeps me going. Happy Korean cooking!
Patrick Capetillo says
Thanks for all the recipes they are wonderful. Family was amazed at my skills.
Jenny Pittman says
Last time I went to a Korean restaurant I had cucumber kimchi for the first time. The bowl of kimchi was supposed to be for everyone…but I ate it all, lol. I have to make this! Thanks for posting, I love your blog 🙂
Hyosun Ro says
I know It’s that good. Thank you so much for coming by!
Hyosun Ro says
I know It’s that good. Thank you so much for coming by!
Anonymous says
You are giving me some good ideas here, I am making some. Thanks! — Dan
(If you ever want a pickle to go faster use some pro-biotic powder or from a capsule)
Anonymous says
Thank you! I lost my mom 6 years ago and I only knew how to make a few dishes. Reading your recipies brought back memories of my mom cooking! Thank you I can’t wait to start maiking some dishes like my mother!!
Michelle C says
Hi! I just found your blog a year later and I couldn’t stop looking through all the recipes! Fantastic pictures, everything looks delicious, and I love the way you have laid your blog out. I can’t wait to try some of these dishes! i am a terrible cook but still want to try some of the “easier” more simple recipes. Cucumber kimchi is one of my favourites and i’ve heard it is extremely difficult to make but this recipe makes it look easy! Thanks!
Hyosun Ro says
Thank you, Michelle! You’re right – this dish is very easy. Hope you try it soon.
Sissi says
Hyosun, I have almost forgotten to say I have made and posted your kimchi! In spite of the Winter season, the cucumber kimchi is extraordinary! Until now it’s my favourite kimchi! Thank you once more for the perfect, easy recipe!
Hyosun Ro says
Thank you, Sissi! Can’t wait to see it. Coming right over.
Hyosun Ro says
Judy – Thank you so much! You’ve been supportive all along since the beginning. In fact, you were the very first few people signed up to follow my blog. It’s been so great to get to know you better since then. I always enjoy your blog, learning Japanese food and seeing Babe E growing up.
Judy says
HI Hyosun! Congratulations on your 2nd blogaversary and many accomplishments! 🙂 I enjoy your blog and the foods you post quite a bit. Korean cucumber pickles are one of my favorite things to eat. Of course, like many Korean foods I enjoy, they have mostly come from the Korean supermarket or restaurant, sadly. I am adding this to my “to cook list”. As you can imagine, that list grows each month.
Hyosun Ro says
Nami – Your blog is amazing. I admire your talents with each of your posts. Thanks for the vote!
Sarah – Thanks for the good words. That’s nice you cook with your mom and learn from her. I am sure you will do the same thing with your own children one day. We just need more people like you out there to continue the tradition.
Sarah says
Every time I read your blog, I get this feeling of familiarity and warmth! Thanks for all the thought and care you put into your posts.
Coincidentally, I just made oi kimchi with my mom over Labor Day weekend. It has meant a lot to learn how to prepare Korean food from her, little by little. It’s these passed-down skills/knowledge that I worry will become a lost practice over time.
Nami | Just One Cookbook says
I enjoyed reading your first post. My first post is talking to myself and no recipe. LOL. Congratulations on your 2 year anniversary!! I also started my blog for my two kids hoping that they will know how to cook what they’ve been eating (but I still got time since they are 5 and 3). It’s so true that I didn’t think it was this time consuming to keep a blog haha. But I’m so happy that I met a lot of friends on the way including you. 🙂 I saw your Babble and I just voted for you! =) I’m looking forward to reading more of your delicious recipes!
Hyosun Ro says
Anonymous – Thanks! Sundubu jjigae will be posted soon. Stay tuned!
Tina – I have heard great things about you too. Michelle loves you. It would be nice to meet you one day. Sorry about the late reply, but I just came back from a trip and was sick for a couple of days upon return. Michelle told me you made this dish. How did it turn out for you?
tina says
I will be trying this recipe, I have never met you but have heard some great things from Michelle.
Anonymous says
Congrats, love your blog! Do you think you could do a post on sundubu jjigae sometime?
Hyosun Ro says
Oh so nice of you to say all that, Sophia. Thank you! It means a lot to me. I hope you and your family have a wonderful dinner with oi kimchi.
Sophia K. says
Another great recipe! I just made this for my family . . we’re having it at dinner tonight. I never have to wonder how your recipes will taste . . always good! It takes the stress out of trying to make a delicious dinner for my family! Thanks for blogging!
Hyosun Ro says
Thank you, Denise, for all your support from the very beginning!
denise @ quickies on the dinner table says
Congrats on all your milestones Hyosun 🙂 I wish you many more to come!
Hyosun Ro says
Stephanie – Thank you! I hope to continue to improve.
purabi naha – Let me know how it turns out for you. Thanks for the kind words!
purabi naha says
You deserve all these recognitions! The blog is full of interesting dishes and articles. I love eating kimchi. So I am saving this recipe. Congrats on completion two years of blogging successfully!!
Stephanie says
Congrats on your blogging anniversary! Your photos are beautiful and its cool to see how much they have improved from the first post
Hyosun Ro says
Thank you, Anonymous! Your kind words mean a lot to me.
Anonymous says
Congratulations on your anniversary! I enjoy your blog very much, and check it every day for updates 🙂 Especially love your step by step photos! Keep up the good work!